Create a Stunning Ministry or Business Website Using WordPress & Divi: A Step-by-Step Guide

With over 15 years of experience building websites with WordPress, my journey in web design began as an intern while studying for my Master’s degree in Marketing. What started as a learning opportunity quickly grew into a passion—I’ve always loved creating websites that connect with people in meaningful ways.

After becoming a Christian, I felt called to use my skills to glorify God. Over the past few years, I have been blessed to create websites for myself and others, each with the goal of leading people to Jesus. Websites such as: antstalents.com, thebiblediet.co, bibletextmessage.orgjesusetoi.com, and more. It’s an honor to serve God and others with this skill, and I continue to offer my design services with fair pricing, aiming to deliver high-quality, affordable websites that help share God’s love and message.

I understand that some people prefer a DIY approach or need a website on a very tight budget, which is why I’ve created a step-by-step tutorial for building an endless, customizable website using WordPress and optionally the Divi theme. For less than $50 if you choose not to use Divi theme, or less than $150 per year if you do choose to use Divi, you can create a professional website—whether it’s for a blog, e-commerce, or ministry—without compromising on quality or customization. This tutorial is designed for those who want control over their site without overspending.


IF YOU NEED HELP with website design or would like guidance as you work through the tutorial, feel free to reach out. Or if you would prefer a professional to make your website, visit our family owned website design company website www.weablemarketing.com. If offer professional and affordable website design starting at $399 (one time payment), as well as content strategy & SEO, website maintenance, and branding & Logo services.


Something we should know and remember as Christian when sharing information online

When building a website as Christians, it’s important to remember that our online presence is an extension of who we are and what we stand for. Just as we are called to live out our faith in our daily lives, we should also reflect our Christian values in the way we create, manage, and interact on our websites. Our digital spaces are opportunities to share knowledge, uplift others, and create a positive impact.

As you build your website using WordPress and maybe Divi, it’s essential to keep in mind that the content you create should align with the values of honesty, integrity, and love.

Proverbs 12:19 says, “The lip of truth shall be established forever: but a lying tongue is but for a moment.” This encourages us to always share accurate, helpful, and truthful information on our websites, ensuring that visitors can rely on what we present.

In Colossians 3:23, we are reminded, “And whatsoever ye do, do it heartily, as to the Lord, and not unto men.”

This applies to our website creation as well. Whether you’re writing blog posts, selling products, or offering services, approach every aspect of your site as if you are working for God, striving to offer excellence in all you do.

Additionally, remember that a website should be a place of respect and kindness.

Ephesians 4:29 teaches us, “Let no corrupt communication proceed out of your mouth, but that which is good to the use of edifying, that it may minister grace unto the hearers.”

The content you share and how you interact with your audience should uplift, encourage, and minister grace to all who visit your site.

By keeping these principles in mind as you build your website, you can ensure that your online presence will reflect your faith, honor God, and serve others with love and respect.

Contents hide
3 A Complete Guide for Blogs and E-commerce

Introduction: Why Choose WordPress & Divi for Your Website

Disclosure: Some of the links in this post are affiliate links. If you decide to make a purchase through them, I may earn a small commission—at no extra cost to you! These commissions help support the development of this website, so I can continue sharing helpful content with you. Thank you for your support!

If you’re looking to create a versatile, customizable, and affordable website that can grow and evolve with your needs, WordPress and the Divi theme are an unbeatable combination. Whether you’re building a personal blog, an e-commerce store, or a service-based website, this guide will walk you through the benefits of using WordPress and Divi to achieve professional, polished results without the cost and complexity of custom development.

Benefits of Using WordPress for Simple wesbites, Blogs and E-commerce

WordPress powers over 40% of all websites worldwide for a reason: it’s free, it’s user-friendly, robust, and offers a range of plugins and tools to expand functionality for any website type. For bloggers, WordPress provides intuitive tools for creating, organizing, and promoting content. For e-commerce businesses, it integrates seamlessly with WooCommerce, turning your site into a fully functional online store with ease. WordPress also offers flexibility in design and functionality, so you can start small and expand over time without switching platforms.

Why Divi is Ideal for Endless Customization and Affordability

Divi is a premium WordPress theme designed to make advanced web design accessible to anyone. With Divi, you have an extensive range of customization options that allow you to create a website that feels truly unique. Its drag-and-drop builder makes complex layouts and design adjustments simple—even if you have no coding experience. You can choose from pre-made templates, customize every detail, and even save your own layouts to reuse on other pages. Divi also offers an affordable pricing model, with options for a one-time purchase or yearly subscriptions, providing premium functionality at a reasonable price.

Overview of Website Possibilities with WordPress & Divi

The combination of WordPress and Divi opens up endless website possibilities. For blogs, you can create visually engaging, well-organized layouts that are easy for readers to navigate. For e-commerce, you can design beautiful product pages, incorporate online payments, and customize the shopping experience for customers. Divi also supports landing pages, portfolios, membership sites, and more. From simple websites to complex online stores, this combination provides the flexibility you need to create a website that can grow and evolve to meet your needs.

By the end of this tutorial, you’ll have a solid understanding of how to build your own fully customizable website with WordPress and Divi if you choose to, all while keeping costs manageable.

Cost Options for Building a Website with WordPress

  • WordPress: Free
  • Divi: $89/year (or $249 for lifetime access)
  • Hosting with Bluehost: Starting at $2.95 / month
  • If you would prefer a professional to make your website, visit our family owned website design company website www.weablemarketing.com. We offer professional and affordable website design starting at $399 (one time payment), as well as content strategy & SEO, website maintenance, and branding & Logo services.

Main types of websites

Websites come in various types, each designed to serve different purposes. Here are some of the most common types:

Ministry Website

  • Purpose: A ministry website shares faith-based content, resources, events, and community activities. It may include sermons, Bible studies, prayer requests, or support for missions and outreach.
  • Examples: Church websites, Christian organizations, missionary sites, online ministry resources.
  • Key featured: Sermons, event calendar, prayer requests, Bible study resources, donation options.

Blog

  • Purpose: Share articles, news, opinions, and other written content.
  • Examples: Personal blogs, news sites, niche topic blogs.
  • Key Features: Regularly updated posts, categorized content, comment sections.

Business Website

  • Purpose: Provide information about a company, its products or services, and contact details.
  • Examples: Service-based businesses, consulting firms, corporate websites.
  • Key Features: Service pages, about and contact sections, testimonials, client portfolio.

E-commerce Site

  • Purpose: Sell products or services online, often including payment and shipping features.
  • Examples: Online stores, product-based businesses.
  • Key Features: Product listings, shopping cart, checkout page, payment options.

Portfolio Website

  • Purpose: Showcase an individual’s or a company’s creative work or projects.
  • Examples: Websites for artists, photographers, writers, or design agencies.
  • Key Features: Project galleries, testimonials, contact form, downloadable resumes.

Educational Website

  • Purpose: Provide learning resources or conduct online courses.
  • Examples: E-learning platforms, educational institutions.
  • Key Features: Course listings, student login, progress tracking, quizzes.

Nonprofit/Charity Website

  • Purpose: Promote an organization’s mission, encourage donations, and engage volunteers.
  • Examples: Foundations, charities, and advocacy groups.
  • Key Features: Donation functionality, mission statement, event calendar, impact reports.

Membership Website

  • Purpose: Restrict content or services to members who pay a fee or register.
  • Examples: Professional communities, subscription services.
  • Key Features: Member login, exclusive content, discussion forums, member directory.

Forum/Community Website

  • Purpose: Create a space for people to discuss topics and share information.
  • Examples: Online forums, Q&A communities.
  • Key Features: User profiles, topic threads, comment sections, moderation tools.

News/Magazine Website

  • Purpose: Provide news articles, features, and other journalistic content.
  • Examples: News outlets, lifestyle magazines.
  • Key Features: News categories, regularly updated content, subscription options.

Landing Page

  • Purpose: Direct visitors to take a specific action, such as signing up or buying a product.
  • Examples: Event sign-ups, product launches, marketing campaigns.
  • Key Features: Strong call to action, concise information, visually engaging design.

Personal Website

  • Purpose: Share an individual’s personal profile or interests.
  • Examples: Online resumes, personal blogs, creative portfolios.
  • Key Features: Bio section, blog or gallery, contact information.

Each website type has specific elements tailored to its unique goals and audience, allowing for a customized experience based on its purpose. In this tutorial we are focusing on personal website, blogs or E-commerce. If you have any website design or website hosting needs feel free to reach out.

How to Build an Endless Customizable & Affordable Website with WordPress & Divi

A Complete Guide for Blogs and E-commerce

Step 1: Setting Up Your Website Foundation

In this first step, we’ll set up the essential foundation for your customizable and affordable website. With the right start, you’ll have a solid base for building a blog, e-commerce site, or any other type of website using WordPress and the Divi theme.

Registering a Domain and Choosing Reliable & Affordable Hosting

Your domain name is your website’s address, and hosting is where your site’s files are stored online. Choose a domain that reflects your brand and purpose, keeping it simple, memorable, and relevant to your audience. You can register domains through various providers, often bundled with discounts on hosting. For affordable hosting, consider reputable options like Bluehost that balance performance and cost. Look for features like one-click WordPress installation, SSL certificates, 24/7 support, and scalability options as your site grows. Bluehost offer excellent features at a budget-friendly rate, perfect for starting with WordPress and Divi.

Installing WordPress: A Quick Start Guide

Once you’ve registered your domain and set up hosting, it’s time to install WordPress, the content management system (CMS) that powers your site. Many hosts such as Bluehost offer one-click WordPress installations, making setup fast and easy. Simply access your hosting dashboard, locate the WordPress installation option, and follow the prompts to get started. If your hosting provider doesn’t offer one-click installation, WordPress’s site provides a straightforward, step-by-step guide.

Configuring Basic Settings in WordPress

After installing WordPress, configure the basic settings to lay the groundwork for your site. Start by setting your preferred site title, tagline, and time zone in the Settings > General section of the WordPress dashboard. Then, navigate to Settings > Permalinks and select the “Post Name” option to make your URLs more readable and SEO-friendly.

PLEASE NOTE:
If you choose to use Divi to customize your website, skip to “step 2”. If you choose not to use Divi, the website customization will be limited but you can still make a beautiful website with a WordPress free theme. Here is how:

1. Log in to Your WordPress Dashboard

  • Go to your website’s login page (usually yourwebsite.com/wp-admin).
  • Enter your username and password to access the WordPress admin area.

2. Navigate to Themes

  • In the WordPress dashboard, go to the Appearance section on the left-hand menu and click on Themes.

3. Add a New Theme

  • On the Themes page, click the Add New button at the top of the page.
  • You’ll be taken to the theme repository where you can browse free themes available for download.

4. Search for a Free Theme

You can search for a specific theme by name or browse through popular, featured, or most recent themes. You can filter themes based on layout, features, and other criteria.

5. Install the Theme

  • Once you’ve found a theme you like, hover over the theme and click Install.
  • WordPress will download and install the theme on your website.

6. Activate the Theme

  • After installation, click the Activate button to make the theme live on your site.

7. Customize the Theme

  • Once activated, go to Appearance > Customize in the WordPress dashboard.
  • Here, you can adjust various settings for your theme, such as the site identity (logo, title), colors, fonts, header, background, menus, and widgets.
  • Use the live preview to see how your changes will look before publishing them.

8. Publish Your Site

  • Once you’re happy with the design and layout, click Publish to make your site visible to visitors.

That’s it! You now have a free WordPress theme installed and set up. You can continue to add content, adjust settings, and further customize your site as needed. As your site grows, you may also want to explore the theme Divi or plugins for additional features and flexibility.

Step 2: Installing and Setting Up the Divi Theme

In this step, we’ll walk through purchasing, installing, and setting up the Divi theme to unlock powerful customization options for your website. Divi offers endless possibilities for creating a unique, professional, and easy-to-manage website, ideal for both blogs and e-commerce.

Purchasing and Downloading the Divi Theme

To get started, visit the Elegant Themes website, where Divi is available. You’ll have the option to purchase either an annual or a lifetime license—both give you full access to Divi’s features, updates, and customer support. Once you’ve made your purchase, log into your Elegant Themes account, go to the “Downloads” section, and download the Divi theme file. This file will be in .zip format, which is ready for installation on WordPress.

Installing Divi on WordPress

Now that you have your Divi theme file, it’s time to install it on your WordPress site. Follow these steps:

  • Log in to your WordPress dashboard.
  • Go to Appearance > Themes and click Add New.
  • Select Upload Theme and choose the Divi .zip file you downloaded.
  • Click Install Now, and once the installation completes, select Activate to make Divi your site’s active theme.

With Divi activated, you’re almost ready to begin customizing your website! I strongly recommend to also install a Divi “child” theme. And here is why:

  • Preserve Customizations: When you make changes to your theme directly (in the parent theme), these customizations can be lost when the theme is updated. A child theme ensures that your customizations remain intact, even after Divi updates.
  • Safe Customization: By using a child theme, you can make changes to the design, layout, and functionality of your website without the risk of altering core theme files. This makes it easier to troubleshoot and maintain your site in the long term.
  • Better Organization: Keeping your custom code in the child theme (instead of the parent theme) helps you stay organized and makes it easier to update Divi without worrying about losing any changes you’ve made.
  • Easier Updates: With a child theme, you can update the parent Divi theme without affecting your customizations, saving you time and effort during maintenance.

How to Download and Install a Divi Child Theme

Step 1: Download the Divi Child Theme

Option 1: Create a Child Theme Manually:

  • You can create a child theme yourself by creating a new folder in your WordPress theme directory and adding a few files like style.css and functions.php.

Here’s a simple style.css template for the Divi child theme:

css
/*
Theme Name: Divi Child
Template: Divi
*/

In the functions.php file, you would enqueue the parent theme’s stylesheet:

php
<?php
// Enqueue the parent theme stylesheet
function divi_child_theme_enqueue_styles() {
wp_enqueue_style('divi-parent-style', get_template_directory_uri() . '/style.css');
}
add_action('wp_enqueue_scripts', 'divi_child_theme_enqueue_styles');

Option 2: Download a Pre-Made Divi Child Theme: If you want a quicker solution, many websites offer free or premium Divi child themes. You can download one from Divi’s official site or from other third-party providers. These child themes typically come with additional customization options, pre-designed layouts, and features.

Step 2: Install the Divi Child Theme
  1. Upload the Child Theme:
    • Go to your WordPress Dashboard.
    • Navigate to Appearance > Themes.
    • Click on Add New and then select Upload Theme.
    • Upload the child theme .zip file you’ve downloaded (or created) and click Install Now.
  2. Activate the Child Theme:
    • After installation, click Activate to set the child theme as your active theme. The parent Divi theme must remain installed and activated as well, but you will be working in the child theme for all customizations.

Initial Divi Settings and Customization Options

After activating Divi, you’ll see new customization options appear in your WordPress dashboard. Start by navigating to Divi > Theme Options. Here, you can adjust essential settings such as your logo, layout, and color scheme, as well as integrate social media links.

One of Divi’s most powerful features is the Divi Builder, which allows you to design custom layouts and add unique elements like sliders, image galleries, and call-to-action buttons. As you explore Divi’s customization options, try experimenting with these settings to build a look and feel that fits your brand perfectly. With Divi’s flexibility, you’ll be able to create a beautiful website without needing extensive coding skills.

Once your initial setup is complete, you’re ready to dive into further customization and start building your endless, affordable, and customizable website.

Step 3: Understanding Divi’s Builder and Design Tools

Now that your WordPress and Divi setup is ready, it’s time to dive into Divi’s powerful design tools. Divi’s Visual Builder is at the heart of its customization features, making it easy to create and edit your website visually, with real-time changes and drag-and-drop functionality.

Introduction to Divi’s Visual Builder

Divi’s Visual Builder is a front-end editing tool that lets you build your site as you see it, right on the page. Unlike traditional back-end editors, Divi’s Visual Builder allows you to directly click on elements to edit, add new sections, and adjust layouts. This live editing process gives you complete control and instant feedback as you design, letting you experiment and create freely.

Exploring Divi’s Modules: Text, Images, Videos, Sliders, and More

Divi’s design flexibility comes from its collection of modules, which are the building blocks for any page. Modules include text blocks, images, videos, sliders, forms, buttons, and much more. By adding and customizing modules, you can create unique page layouts without any coding. Each module has its own settings for colors, animations, and styles, allowing you to make each part of your site fit your vision.

Using the Divi Library for Saved Layouts and Efficiency

For even more efficiency, Divi offers the Divi Library, where you can save any layout or module for future use. If you design a custom section that you’d like to reuse across your site—like a call-to-action or contact form—save it to the Divi Library. You can quickly add these saved elements to any page, saving time and ensuring a consistent design.

Building Headers, Footers, and Dynamic Pages

A standout feature of Divi is its Theme Builder, which allows you to fully customize headers, footers, and even dynamic content pages like blog posts or product pages. By creating a unique header and footer, you establish a consistent look for your site, while the dynamic page options let you create visually appealing layouts that automatically update with new content.

Customizing Colors, Fonts, and Styles for a Unique Look

Finally, Divi offers extensive customization options for colors, fonts, and styles, enabling you to create a cohesive, branded look. In the Divi settings, you can set default colors, choose from hundreds of font options, and adjust typography settings to match your site’s tone. These style options are accessible from each module’s settings, so you can maintain visual consistency across your site.

With Divi’s Visual Builder and customizable modules, you have the tools you need to create an endless variety of pages, each uniquely styled to match your goals.

Step 4: Building Your Site Structure with Divi

With your WordPress setup ready, it’s time to start structuring your website using the Divi theme. Divi’s drag-and-drop builder and wide range of customizable modules make it simple to create a clean, professional layout that suits both blogs and e-commerce sites. In this step, we’ll go over the basics of creating essential pages, designing a custom homepage, organizing your navigation menu, and setting up category and tag structures to streamline content management.

Creating Essential Pages

Every website should have a few core pages to ensure users can easily find the information they need. Start by creating the following pages:

  • Home Page: The first impression of your site. This page should capture your brand’s essence and guide visitors to key areas of your site.
  • About Page: Share your story, values, and what makes your website unique.
  • Contact Page: Make it easy for visitors to reach you by including a contact form, email, and links to social media.
  • Other Key Pages (such as Blog, Shop, or Services): Tailor these pages to your site’s purpose.

To add a new page, go to your WordPress dashboard, navigate to Pages > Add New, and start building each one with Divi’s builder.

Designing a Custom Homepage with Divi

Divi allows you to build a fully customized homepage that aligns with your brand. Use Divi’s pre-made layouts or start from scratch with sections, rows, and modules. Incorporate elements like:

  • Hero Section with a headline, background image, and call-to-action (CTA).
  • Features Section highlighting your blog’s categories, top products, or key services.
  • Testimonials, Blogs, or Product Carousels to provide social proof and display recent content or popular items.
  • Sign-Up Form to encourage visitors to subscribe to your newsletter or updates.

Once your homepage is ready, set it as your static front page by navigating to Settings > Reading and selecting your custom homepage.

Organizing Your Navigation Menu for Blogs and E-commerce

A well-organized navigation menu is crucial for user experience. Under Appearance > Menus in the WordPress dashboard, create a menu that aligns with your site’s structure. Key items to consider are:

  • Primary Links: Include your Home, Blog, Shop, and Contact links in the main menu for easy access.
  • Dropdowns (if needed): For blogs, group topics under a main “Categories” dropdown, or for e-commerce, organize product categories.
  • Footer Menu (optional): A secondary menu in the footer can link to less prominent pages like Privacy Policy, Terms of Service, or FAQ.

Setting Up Category and Tag Structures for Easy Content Management

Effective categorization helps visitors and search engines navigate your content. If your site has a blog, create broad Categories based on main topics (e.g., “Recipes,” “Devotionals,” or “DIY Projects”). For an e-commerce site, categories could be product types (e.g., “Clothing,” “Accessories,” or “Home Goods”).

Tags are more specific and work well for refining search within categories, like “healthy recipes” or “summer essentials.” This structure will keep your content organized and improve usability, as well as help with SEO.

By building a structured, user-friendly site with these essential steps, you’ll be ready to move on to customizing content, styling, and adding any finishing touches to make your website unique!

Step 5: Creating a Blog with Divi

Building a blog with Divi makes it easy to design a highly customizable and visually engaging site, tailored to fit your style and content needs. In this step, we’ll go over setting up blog page templates, customizing blog posts, and using Divi’s powerful blog module to create layouts that stand out.

Setting Up Blog Page Templates

First, you’ll want to set up a blog page template that can be applied to all your blog posts. In Divi, go to the “Theme Builder” area under the Divi settings. Here, you can create a new template specifically for your blog. This template allows you to define the overall look of your blog page, ensuring each post has a consistent style. Choose your headers, footers, and sidebar placement, and set up any recurring elements, like navigation or social sharing icons, to save time as your blog grows.

Adding and Customizing Blog Posts

To add a new blog post, navigate to Posts > Add New from your WordPress dashboard. Once your content is added, use Divi’s builder to customize the layout of your post. You can add unique images, custom headings, and dynamic elements that bring your content to life. Divi’s customization tools make it easy to adjust colors, fonts, and spacing for each blog post, allowing you to create an aesthetic that matches your brand.

Using Divi’s Blog Module to Create Unique Layouts

Divi’s Blog Module is one of its most powerful features for bloggers. With the Blog Module, you can customize how your blog posts are displayed on the main blog page or category pages. Adjust settings to control the display of post titles, excerpts, featured images, and more. You can also use Divi’s layout options to create multiple blog designs, such as a grid layout or a traditional column layout, giving your blog a dynamic and professional look.

By following these steps, you’ll have a beautiful, fully customized blog with Divi that can be updated and adapted endlessly to meet your needs as your content grows.

Step 6: Setting Up an E-commerce Store with WooCommerce and Divi

Adding an e-commerce store to your website can expand its functionality and create new revenue opportunities. With WordPress, WooCommerce, and the Divi theme, you can set up a fully customized online shop with ease, blending your unique style and brand identity throughout the shopping experience. This step will guide you through installing WooCommerce, designing your product pages, and customizing your shop and checkout pages using Divi.

Installing and Configuring WooCommerce

WooCommerce is a powerful, free plugin that transforms WordPress into a full-fledged e-commerce platform. To get started:

  1. Go to your WordPress dashboard, navigate to Plugins > Add New, and search for “WooCommerce.”
  2. Click Install Now and then Activate.
  3. Once activated, WooCommerce will guide you through its setup wizard, which includes options for configuring your store location, currency, shipping, and payment methods. Follow each step to personalize your store’s basic settings.

After the initial setup, visit WooCommerce > Settings for additional customization options, such as tax settings, payment gateways, and shipping zones.

Designing Product Pages with Divi Modules

WooCommerce works seamlessly with Divi, allowing you to design stunning product pages that highlight each item’s unique features. With Divi’s visual builder, you can add custom modules to style your product pages:

  1. Open a product page in Divi’s visual builder and explore the WooCommerce-specific modules like Woo Title, Woo Images, Woo Price, and Woo Add to Cart.
  2. Use Divi’s settings to customize the layout, colors, fonts, and button styles for a cohesive, branded look.
  3. Drag and drop modules to arrange product information, images, reviews, and calls to action exactly where you want them.

With these tools, you can create product pages that not only showcase your items but also provide a smooth, engaging shopping experience.

Creating a Customized Shop and Checkout Page

To make your e-commerce store truly unique, use Divi’s builder to design your shop and checkout pages:

  1. Navigate to the Divi Theme Builder and select Add New Template. Choose Shop to customize the main store page or Checkout for the purchase finalization page.
  2. Add Divi modules to the shop and checkout pages to control the page layout, including elements like product grids, featured products, and customer testimonials.
  3. Use Divi’s extensive design options to style these pages to align with your brand, enhancing the shopping experience from start to finish.

With WooCommerce and Divi’s customization capabilities, you can build an attractive, fully functional online store that meets your needs, whether you’re selling a few items or managing a large catalog.

Step 7: Making Your Site Endless: Adding Dynamic Content and Custom Layouts

One of the powerful features of WordPress and the Divi theme is the ability to create an “endless” website—one that grows and adapts over time. By using Divi’s Theme Builder, you can design custom layouts that update automatically, keeping your site fresh without constant redesigns. This step will show you how to add dynamic content and create reusable templates to streamline your process and maximize flexibility.

  1. Creating Reusable Templates with Divi Theme Builder
    The Divi Theme Builder allows you to set up page templates for specific parts of your site, like blog posts, product pages, or category archives. By creating a reusable template, you can ensure that new content fits seamlessly with your existing design. To start, navigate to the Divi Theme Builder, then add a new template. Customize the layout as desired—add sections, columns, and design elements—and save the template. This setup ensures consistency across pages and eliminates the need to design each new page from scratch.
  2. Setting Up Dynamic Blog Post Layouts
    Dynamic blog layouts are perfect for blog-based sites and e-commerce stores with content-rich pages. With Divi, you can create a single, custom blog post layout that dynamically pulls in the content of each post. In the Theme Builder, create a template and add Divi’s Blog Module. Customize the layout, fonts, colors, and post elements (such as featured images and meta information) to match your site’s branding. Once applied, every blog post you publish will automatically adopt this layout, making your site both cohesive and time-efficient.
  3. Using Global Elements for Efficient Site-Wide Changes
    Divi’s global elements feature is a game-changer for website management. By setting up headers, footers, and reusable sections as global elements, you can make site-wide updates instantly. For example, if you need to update your site’s contact information or adjust a color scheme, changes to a global element will apply across all instances on your site. This feature not only saves time but also keeps your site looking polished and consistent.

By using Divi’s Theme Builder, dynamic content, and global elements, you can build a website that’s endlessly customizable and easy to maintain. These tools give you the flexibility to expand your site, integrate new content, and make quick adjustments as your needs evolve—creating a site that grows right alongside your vision.

Step 8: Extending Functionality with Plugins

One of the major strengths of building a website with WordPress and Divi is the ability to extend your site’s functionality with plugins. Plugins allow you to add advanced features to your website, enhancing its performance and user experience without needing any coding expertise. Here’s a guide to essential plugins for both blogs and e-commerce sites, along with tips on managing and updating plugins effectively.


Must-Have Plugins for Blogs

If you’re building a blog, the right plugins can improve your site’s visibility, security, and interactivity. Here are some must-have plugins:

  • SEO Plugins: An SEO plugin like Yoast SEO or All in One SEO helps optimize your blog posts for search engines. These tools guide you in setting keywords, meta descriptions, and proper formatting so your content ranks higher and reaches more readers.
  • Social Sharing Plugins: Boost your blog’s reach by making it easy for readers to share your posts on social media. Plugins like Social Warfare or Sassy Social Share offer customizable social sharing buttons that encourage engagement.
  • Security Plugins: Protecting your website is crucial. Use plugins like Wordfence Security or Sucuri Security to monitor for malware, set up firewalls, and safeguard your site against potential threats.

Essential Plugins for E-commerce

For those building an e-commerce site, plugins are key to running a functional and user-friendly store. Here are some essential plugins:

  • WooCommerce: This is the most popular e-commerce plugin for WordPress, turning your site into a fully functional online store. WooCommerce offers product management, order tracking, and inventory control, making it perfect for small and large stores alike.
  • Payment Integration Plugins: Ensure a smooth checkout experience by integrating secure payment options like PayPal, Stripe, or Authorize.net. Many WooCommerce extensions are available for payment processing, so you can provide a safe and convenient shopping experience for customers.

How to Manage and Update Plugins Effectively

Managing plugins is essential for your website’s stability and security. Here are some tips for effective plugin management:

  • Regular Updates: Plugins are frequently updated for performance improvements and security patches. Regularly update your plugins through the WordPress dashboard to keep your site secure and running smoothly.
  • Limit Plugin Use: While plugins add valuable functionality, too many plugins can slow down your site. Only install plugins you genuinely need, and periodically audit them to remove any unnecessary ones.
  • Check Compatibility: When installing new plugins, make sure they are compatible with your version of WordPress and other plugins you’re using to prevent conflicts or performance issues.

Step 9: Optimizing for Mobile, Speed, and SEO

In today’s digital world, having a mobile-friendly, fast, and optimized website is crucial. This step will cover how to use Divi’s responsive design features, boost loading speeds, and optimize your website for search engines—ensuring your site performs well across all devices, loads quickly, and ranks high on search results.

Using Divi’s Responsive Design Features

Divi makes it easy to design a responsive site, meaning your website will look great on desktops, tablets, and mobile devices. To adjust your layout for each device, go to any section, row, or module settings, then toggle between desktop, tablet, and phone views. Divi allows you to adjust font sizes, margins, and spacing for each device independently, so your website can deliver a seamless user experience across all platforms.

Speed Optimization Tips for WordPress & Divi

A fast-loading website keeps visitors engaged and can improve your search engine ranking. Here are some tips to optimize speed for WordPress and Divi:

  • Image Optimization: Use compressed images to reduce file sizes without sacrificing quality. Plugins like Smush or Imagify can handle this automatically.
  • Caching: Install a caching plugin like WP Super Cache or W3 Total Cache to improve load times for repeat visitors.
  • Minify CSS and JavaScript: Reduce the file size of CSS and JavaScript files to help your pages load faster. This can be done using plugins like Autoptimize.
  • Limit Plugins: Each plugin you add can increase loading times, so use only essential plugins.

SEO Basics and Plugins for Greater Visibility

Search engine optimization (SEO) helps make your website visible on search engines like Google. To get started with SEO basics:

  • Keyword Research: Identify relevant keywords for your content, focusing on terms your target audience might search.
  • Use Headings and Alt Text: Structure your pages with H1, H2, and H3 headings, and add descriptive alt text to images.
  • Meta Descriptions and Titles: Write compelling meta descriptions and titles to attract users in search engine results.

To simplify SEO tasks, consider using an SEO plugin like Yoast SEO or All in One SEO. These tools guide you through optimizing each page, suggest improvements, and help you monitor your website’s SEO health.

By optimizing your site for mobile, speed, and SEO, you’ll ensure that your site looks great, loads quickly, and reaches more people—helping you maximize your website’s potential as a blog or e-commerce platform.

Step 10: Launching and Maintaining Your Website

You’re almost there! Now that you’ve built a beautiful, fully functional website with WordPress and Divi, it’s time to prepare for a successful launch and plan for ongoing maintenance. Taking care of a few final steps will ensure your site is ready for visitors and can evolve as your needs grow.

Final Checklist Before Launching

Before going live, use this checklist to ensure everything is polished and working smoothly:

  • Proofread all content: Double-check text for any spelling or grammar errors.
  • Test navigation and links: Click through your menus and buttons to make sure all links work and direct visitors to the correct pages.
  • Optimize images and media: Compress large images to improve load times and ensure media displays correctly on mobile devices.
  • SEO check: Add titles, descriptions, and keywords to your pages to boost search engine visibility.
  • Set up Google Analytics: Connect your site to Google Analytics to track visitor traffic and gain insights.
  • Enable caching: Use a caching plugin to improve speed and performance.

Regular Updates and Backups

Once your site is live, regular updates and backups are essential for security and stability. WordPress and Divi periodically release updates that improve functionality and protect against security vulnerabilities. Set a schedule to check for these updates and install them promptly.

Additionally, set up automatic backups or manually back up your site regularly. This will help you restore your site quickly if any issues arise. Many hosting providers offer automated backups, or you can use a plugin like UpdraftPlus.

Tips for Ongoing Customization and Scalability with Divi

One of the greatest advantages of Divi is its endless customization and scalability. As your blog or e-commerce business grows, you can easily add new sections, modify layouts, or even redesign entire pages without any coding. Take advantage of Divi’s vast library of pre-made layouts, modules, and design elements to keep your website looking fresh and relevant.

As you grow, consider adding new features like an email subscription form, blog categories, or even a membership area. Divi’s drag-and-drop interface makes expanding your website a breeze.

With these final steps complete, you’re ready to launch! Don’t forget to download the free printable PDF checklist and this entire tutorial in PDF format to keep handy as you move forward. And if you ever need help with design or maintenance, feel free to contact me—I’d be happy to assist you on your website journey!


Bonus tips: Basic Marketing Strategies

Now that your website is ready, it’s time to attract visitors and grow your audience. Your marketing approach will vary depending on whether you’re building a ministry, business, blog, or e-commerce site, but some core strategies remain the same. Let’s look at some specific marketing tips tailored to each type of website.

For a Ministry or Business Website

For a ministry or business, focus on building trust and fostering engagement with your audience. Here are some key strategies:

  1. Leverage Social Media: Share your website’s content, services, and updates on social media platforms where your target audience spends time. Consistent posting with meaningful content can increase reach and build a loyal following.
  2. Encourage Newsletter Sign-Ups: Offer a free resource (such as a Bible study guide or e-book) to encourage visitors to sign up for your email list. Regular newsletters help you stay connected with your audience and nurture a relationship over time.
  3. Highlight Testimonials and Success Stories: Adding testimonials from satisfied clients or ministry supporters can build trust and provide social proof, encouraging new visitors to engage with your site and services.

For a Blog

Marketing a blog requires consistency, value, and a focus on connecting with readers who share your interests. Here are some tips for effective blog marketing:

  1. SEO for Content: Optimize your blog posts for search engines using relevant keywords, high-quality images, and readable structure to help your content rank higher on search engine results pages (SERPs).
  2. Engage with Your Readers: Respond to comments and ask questions to create a sense of community. Engaging with readers can help build a loyal audience that will return to your blog and recommend it to others.
  3. Collaborate with Other Bloggers: Reach out to similar bloggers for guest posting opportunities, content swaps, or collaborations. This helps to expand your reach and bring new readers to your blog.

For an E-commerce Site

Driving traffic to an e-commerce site requires strategic marketing to attract and convert visitors. Here are some essential strategies for promoting your online store:

  1. Offer Discounts or Promotions: Create limited-time offers, first-time customer discounts, or bundle deals to encourage purchases. Special promotions can increase interest and help convert first-time visitors into buyers.
  2. Utilize Retargeting Ads: Set up retargeting ads to remind people who visited your site or viewed specific products but didn’t complete a purchase. These ads can bring potential customers back to your store and boost conversions.
  3. Collect Customer Reviews: Encourage customers to leave reviews on your product pages. Positive reviews build credibility and can influence potential buyers, making them more likely to trust and purchase from your store.

With these marketing strategies in place, you’ll be well-equipped to drive traffic and grow your website, no matter its purpose. Marketing is an ongoing process, so experiment with different tactics to see what resonates most with your audience.


35 Thanksgiving Plant-Based Recipes Kids Will Love to Cook

Thanksgiving is all about family, food, and gratitude. If you're like many families trying to embrace a healthier, more sustainable lifestyle, you may be looking to add more plant-based dishes to your holiday table. And the best part? You can get the whole family,...

Related Posts

Comments

0 Comments

Submit a Comment

Your email address will not be published. Required fields are marked *

Printables for Parents & Ministries

Sale!

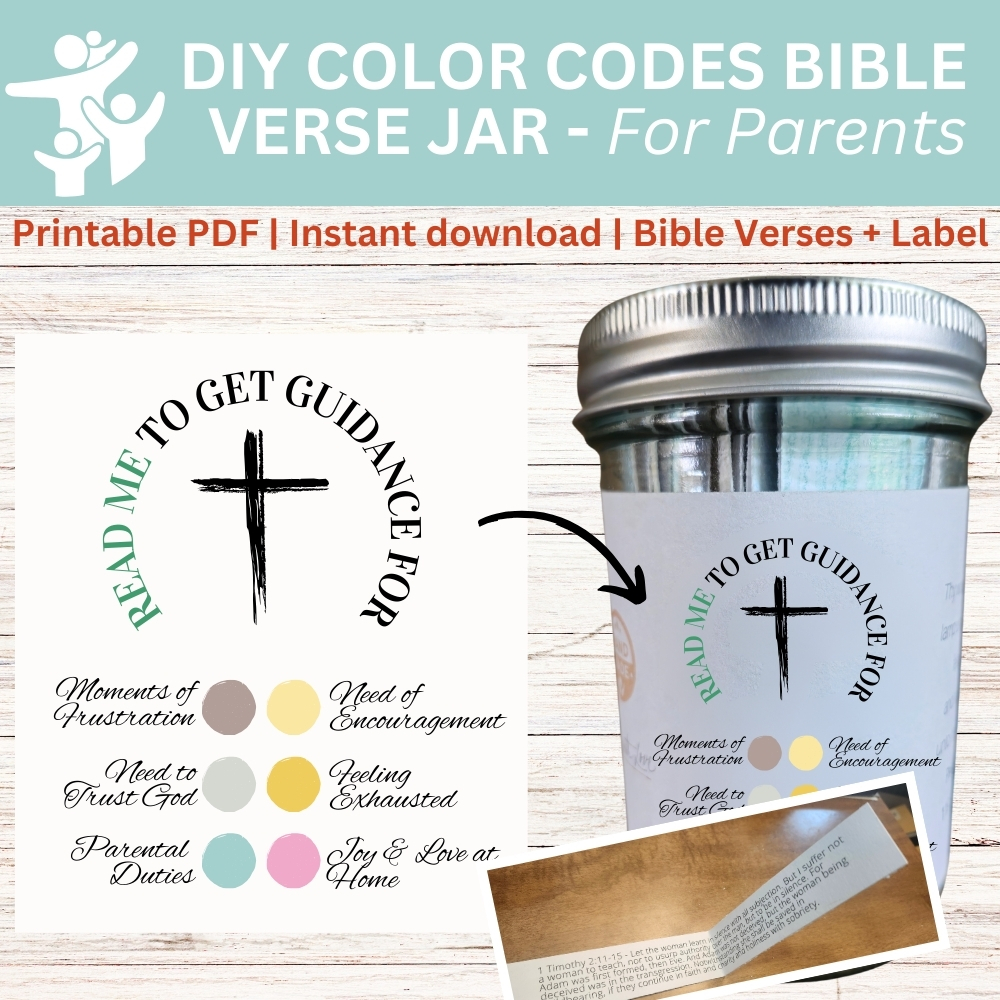
DIY Bible Verse Jar for Parents – Color Coded Bible Verses for Parents

Original price was: $6.00.Current price is: $1.50.

Digital download

Sale!

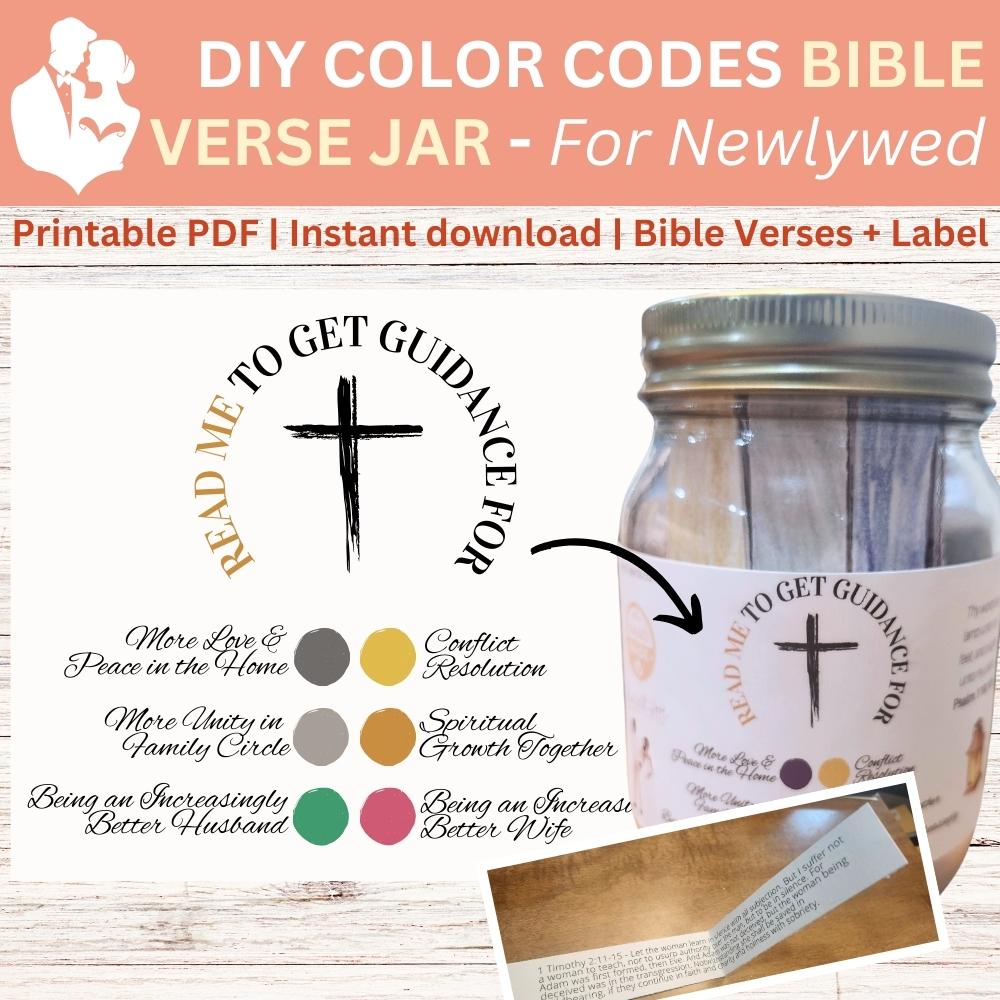
DIY Bible Verse Emotions Jar Married Couples – Bible Verse Jar for Newlywed

Original price was: $6.00.Current price is: $1.50.

Digital download

Sale!

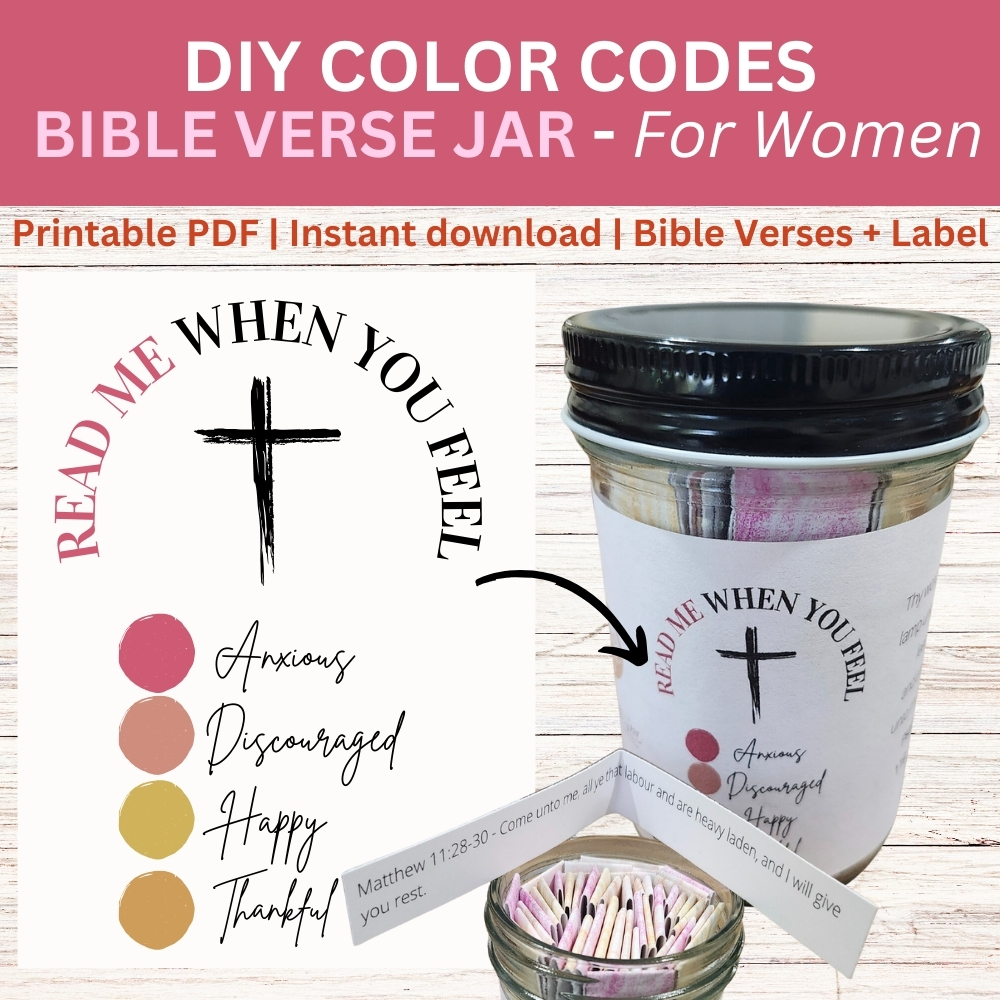
DIY Bible Verse Jar for Women – Read Me When Bible Verse Jar

Original price was: $6.00.Current price is: $1.50.

Digital download

Sale!

DIY Bible Verse Jar for Men – Read Me When Bible Verse Jar

Original price was: $6.00.Current price is: $1.50.

Digital download

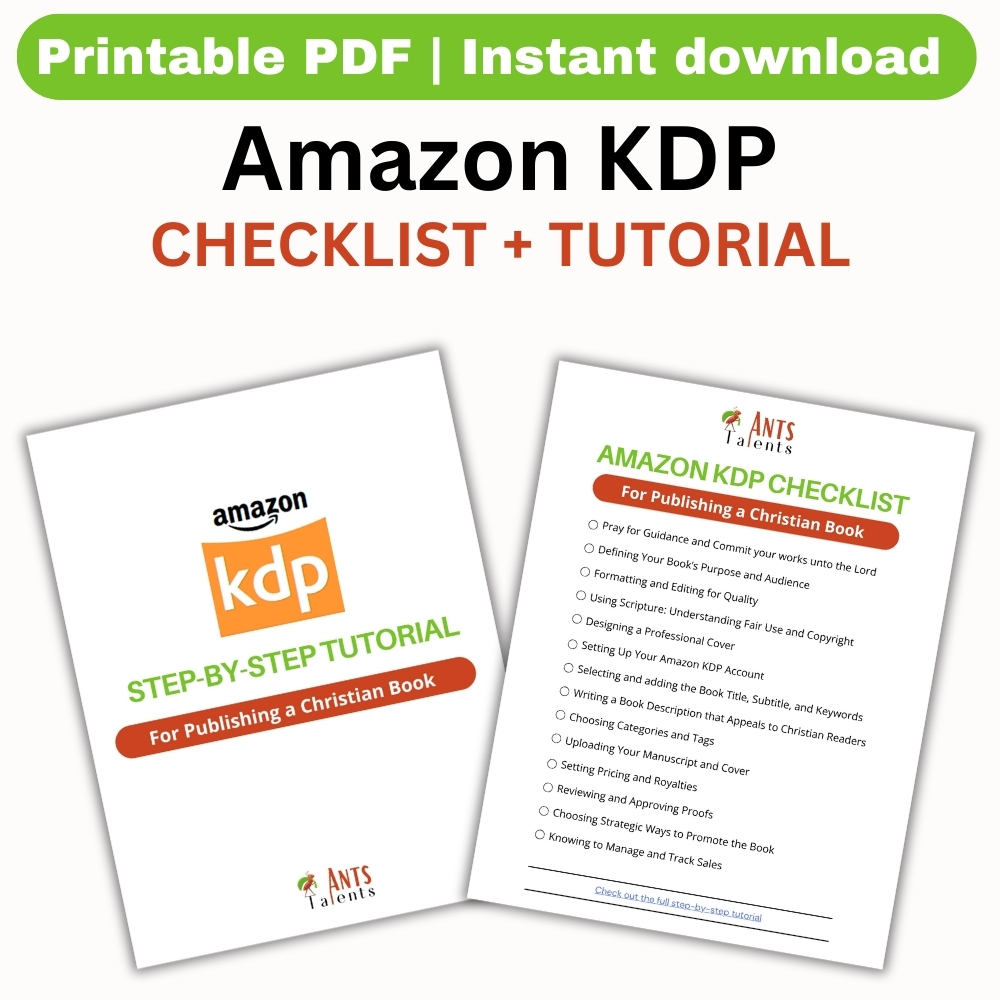
Amazon KDP Checklist & Step-by-Step Tutorial – Free Printable PDF | Instant Download

$0.00

Digital download

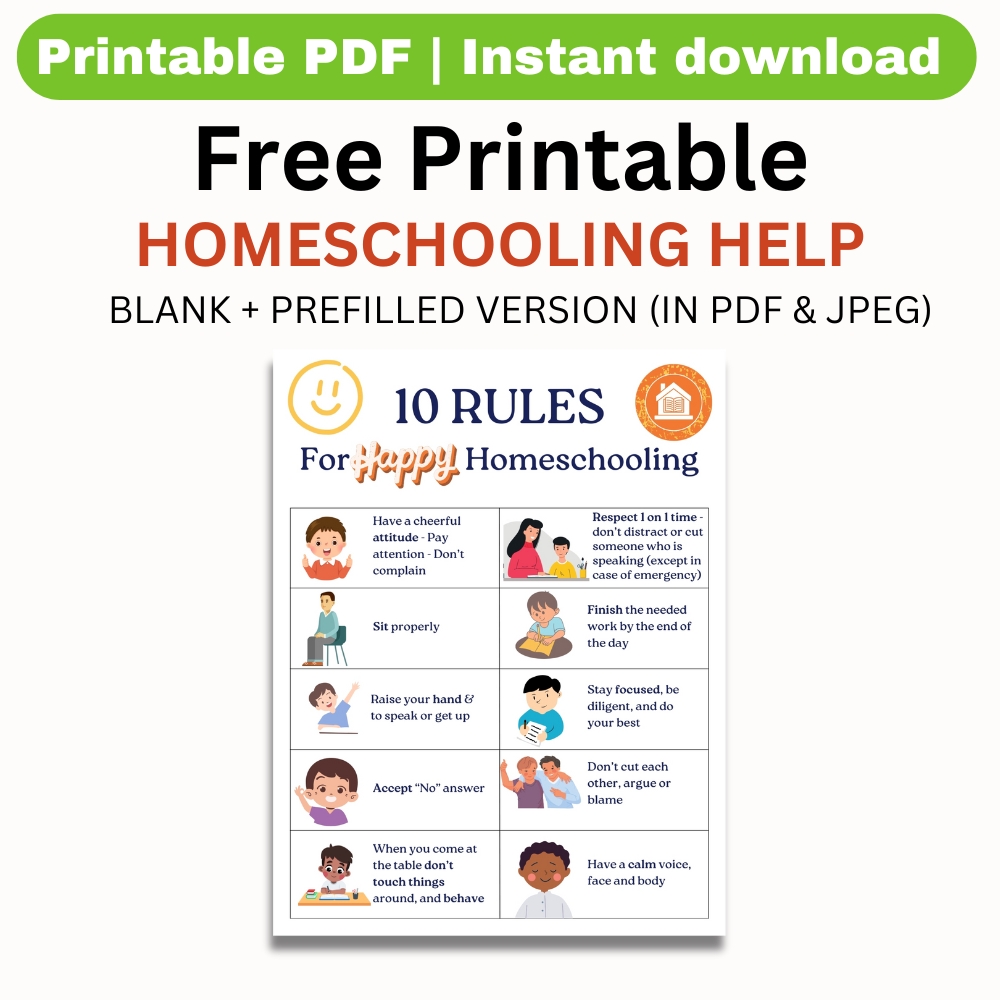
10 Rules for Happy Homeschooling – Free Printable PDF | Instant Download

$0.00

Digital download

Beautiful Children Books

The Path of Righteousness Book | Printed Copy

$14.00

Free Shipping

3 in stock

Young Missionaries Learn French Words While Traveling | Printed Copy

$12.00

Free Shipping

Young Missionaries Learn French Words In The Garden | Printed Copy

$11.00

Free Shipping

Pin It on Pinterest

Share This
Ants Talents

FREE
VIEW